Route is an added layer of protection to your order which insures replacement for lost, stolen, or damaged packages. **IMPORTANT** Route Protection is mandatory for all orders containing liquid or semi-solid products.
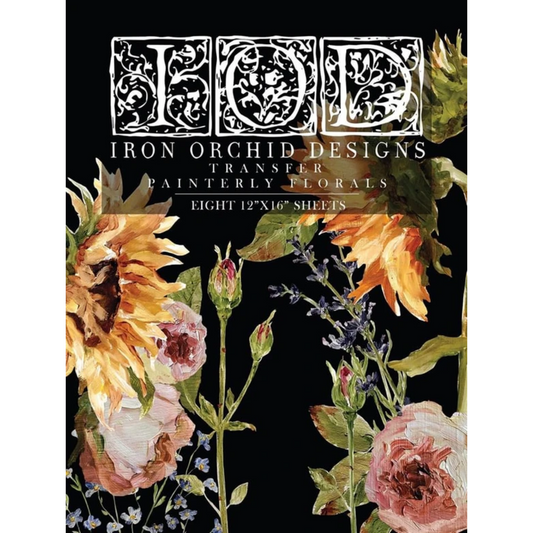
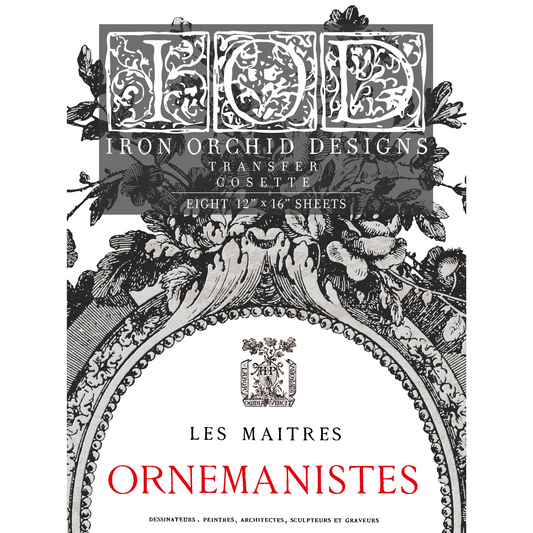
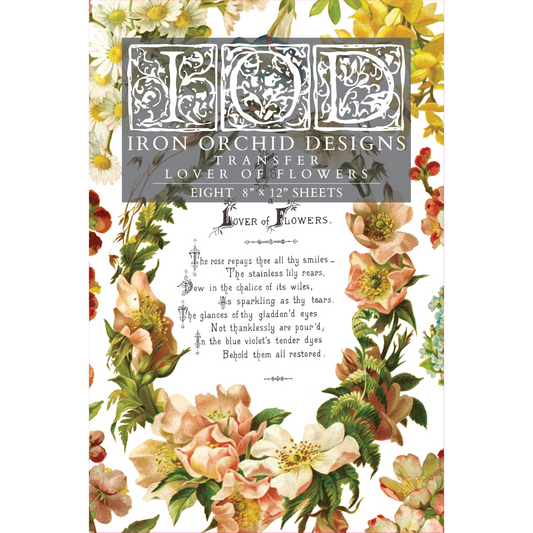
Collection: IOD Transfers
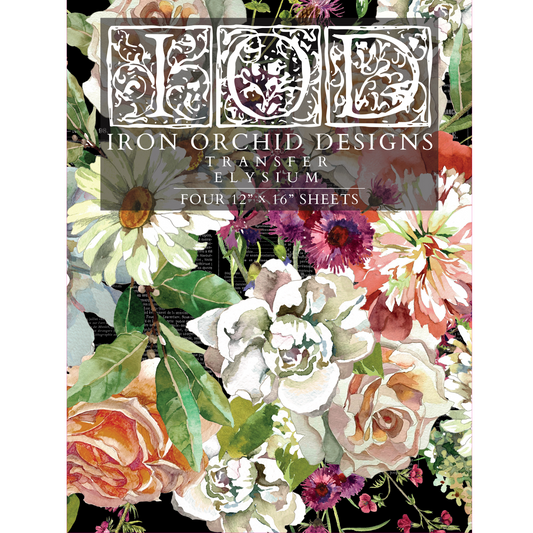
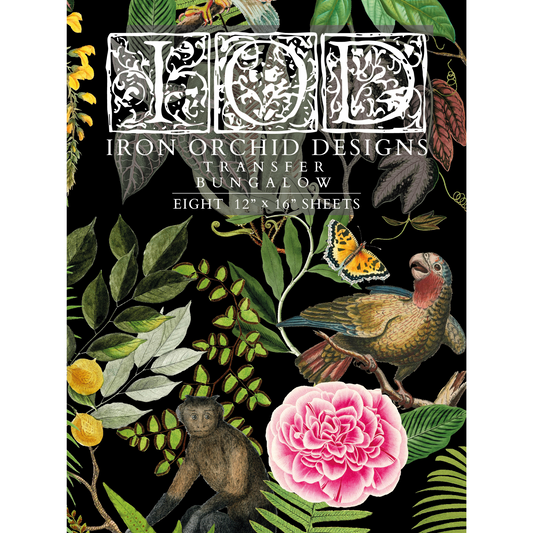
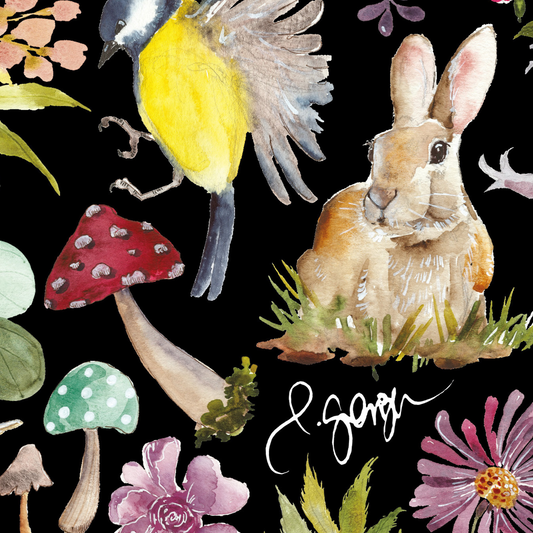
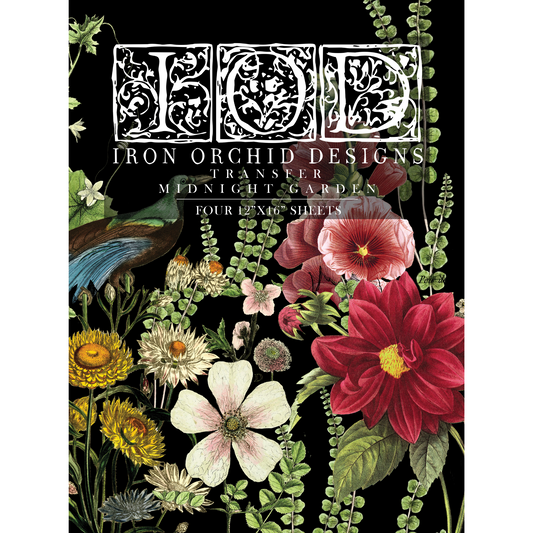
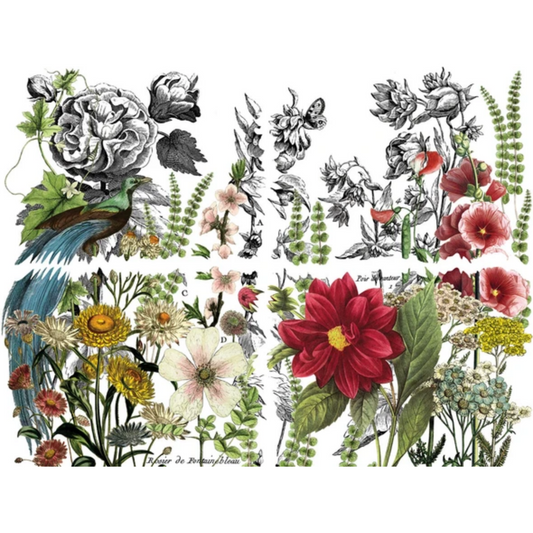
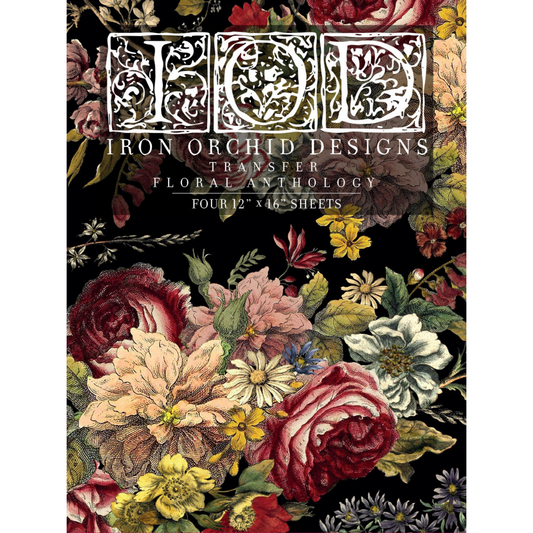
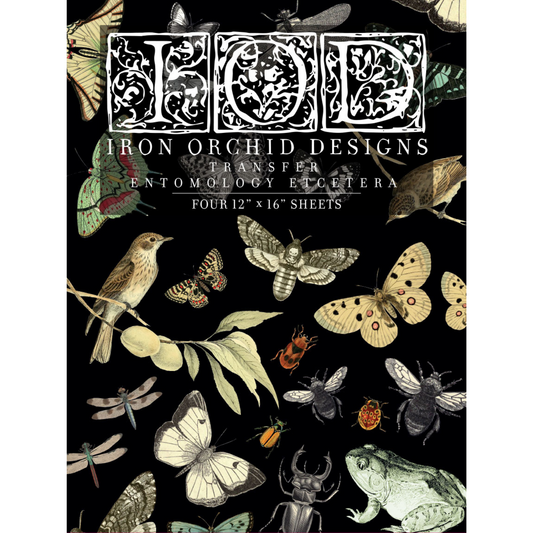
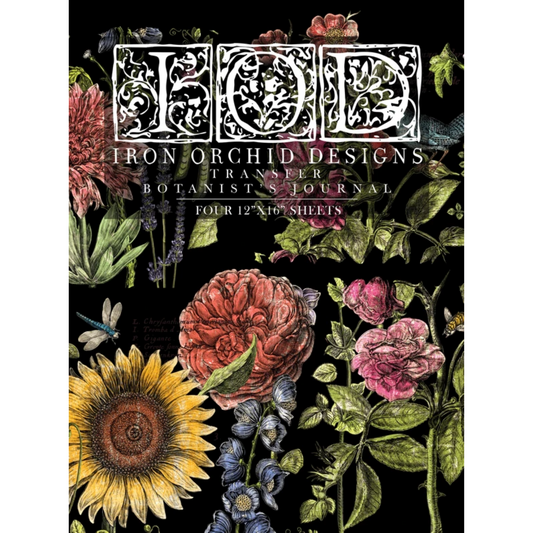
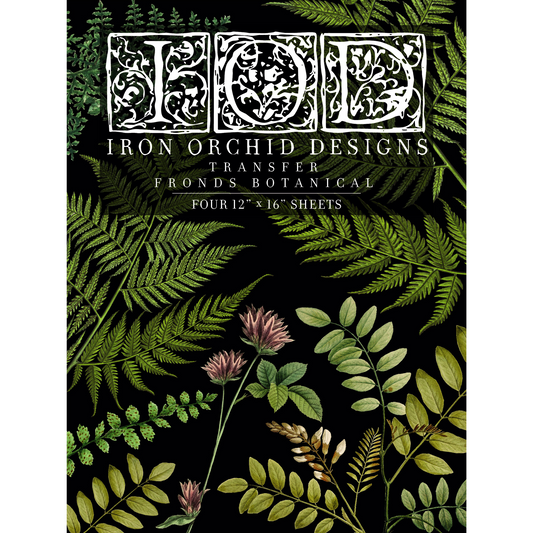
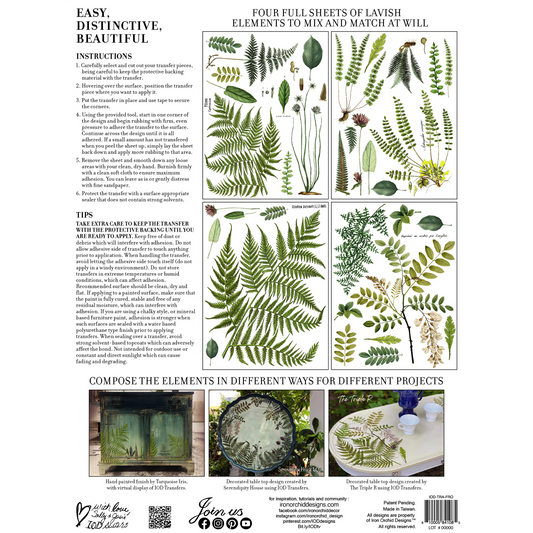
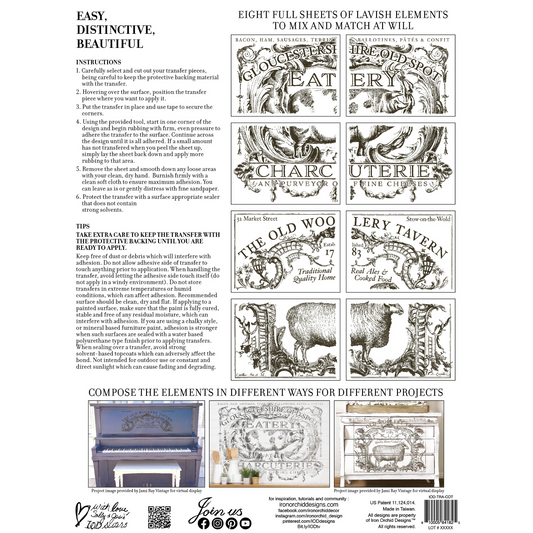
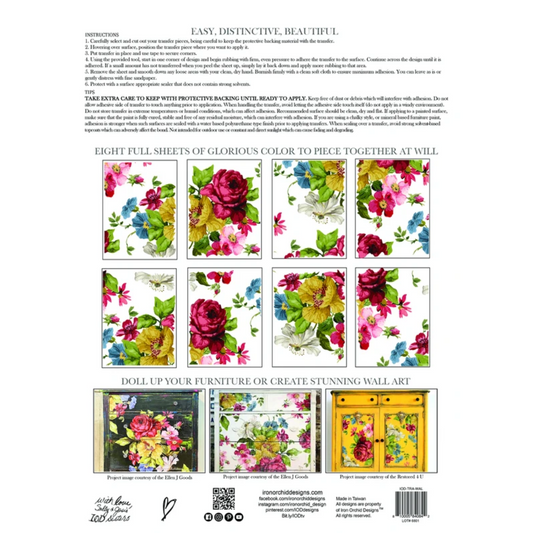
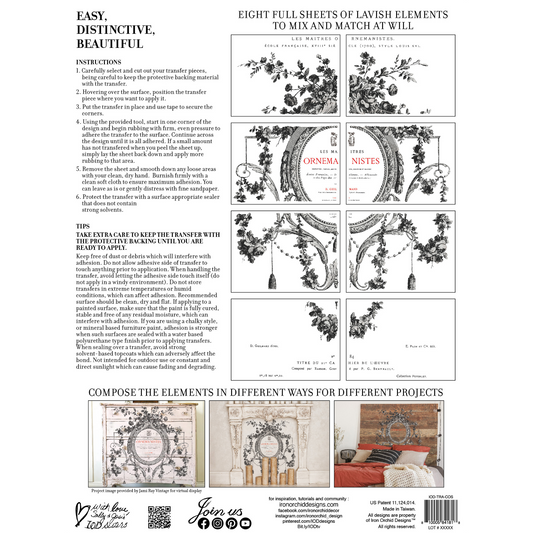
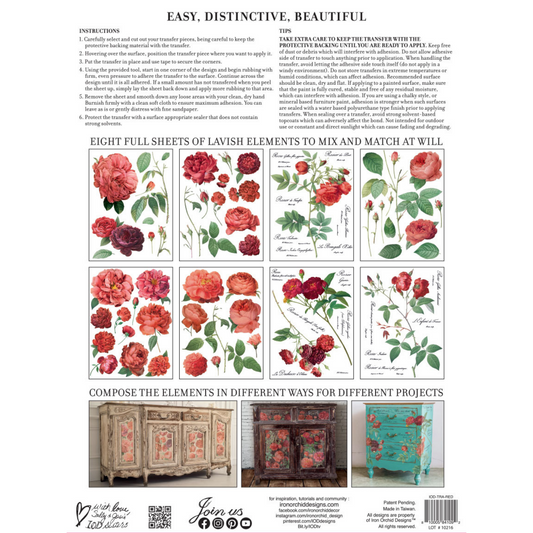
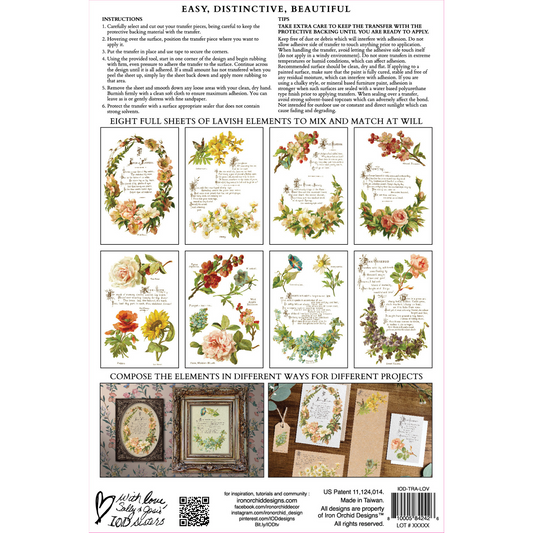
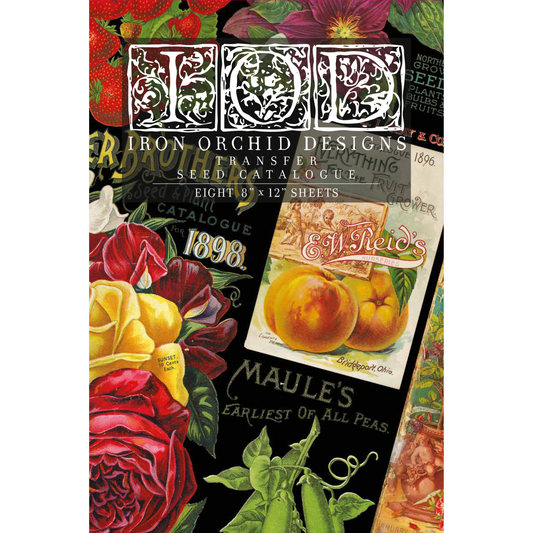
What is an IOD Transfer?
Iron Orchid Designs transfers are pressure sensitive, rub-on adhesive-backed image transfers. Commonly used as furniture transfers or furniture transfer decals, IOD transfers have become popular for all kinds of home decor projects.
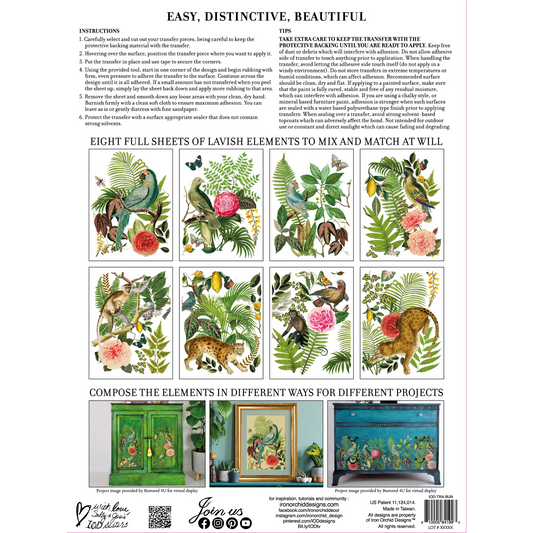
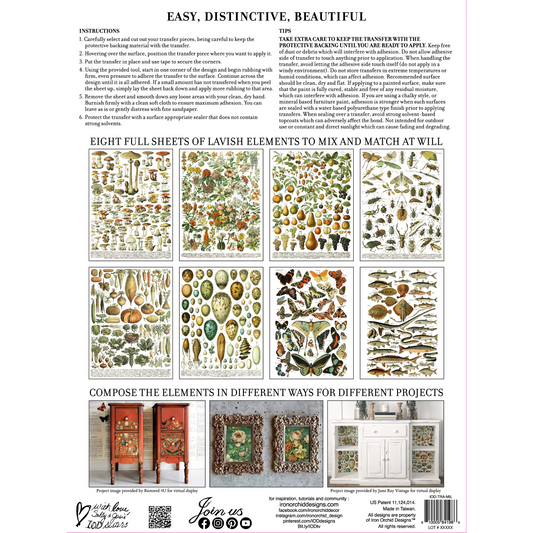
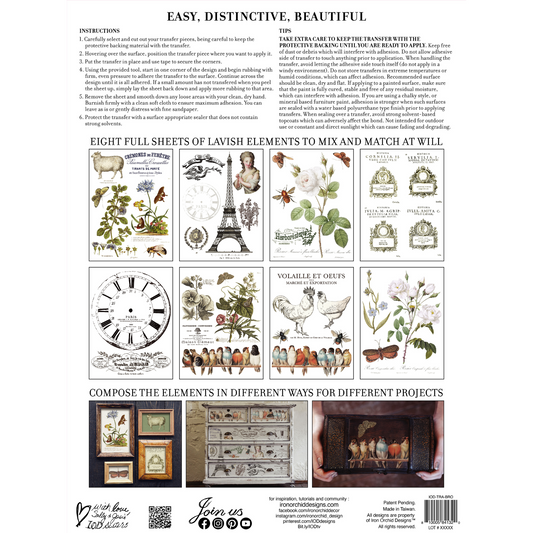
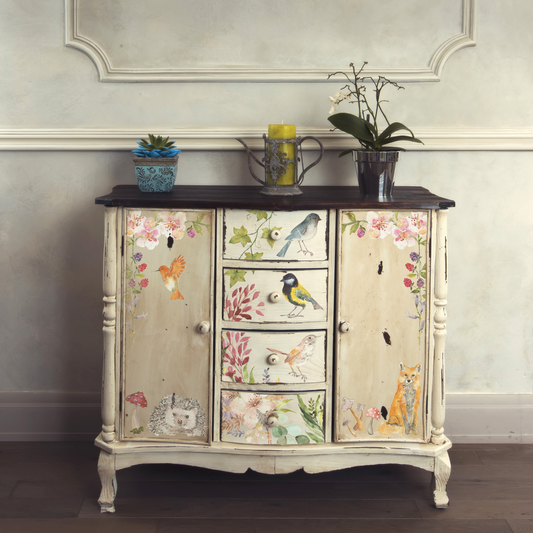
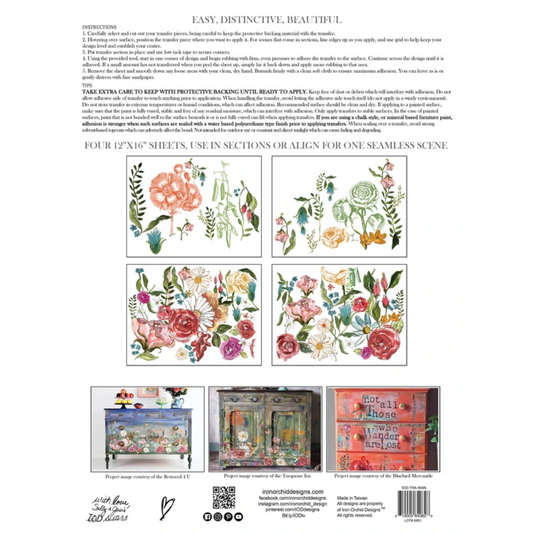
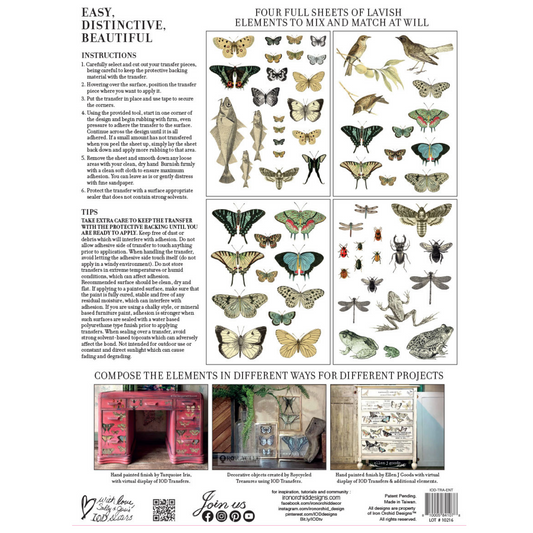
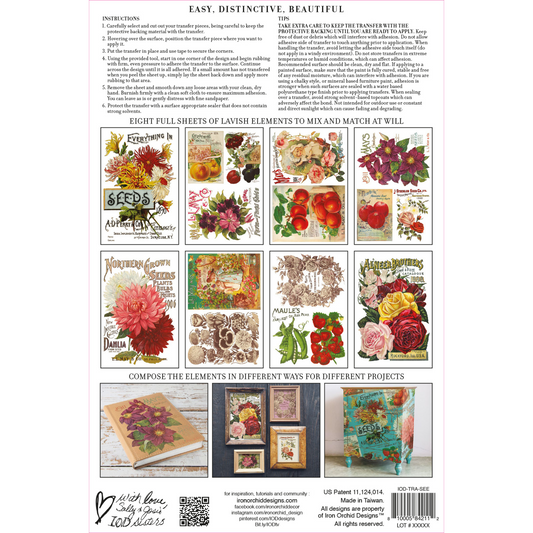
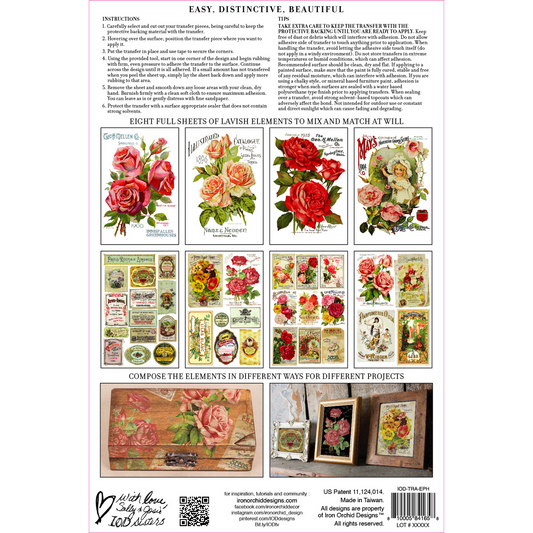
Instructions for Using IOD Furniture Transfers
IOD Transfers can be applied to your chalk-painted furniture pieces and projects. It is not mandatory that you seal your piece first; however, IOD Transfers do adhere well to non-porous surfaces. If you are new to IOD transfers, it will be easier to apply your transfer to a piece that has been sealed first with a water-based topcoat (NOT WAX!). Wax and sealer can be applied again AFTER you have applied your transfer. If you choose to apply your IOD transfer to a non-sealed piece, be sure to remove any dust or debris caused by sanding as this will interfere with transfer adhesion.
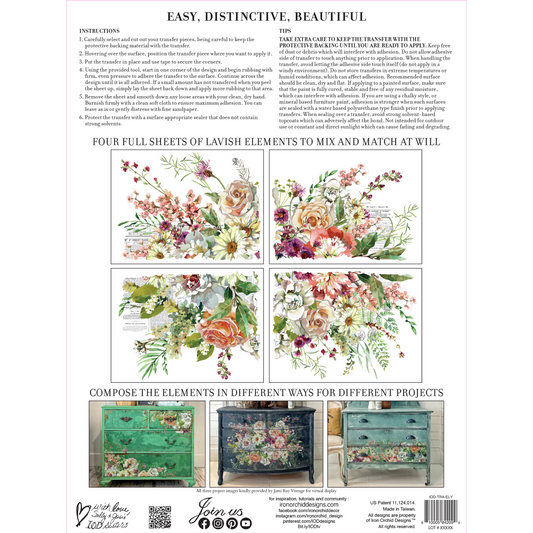
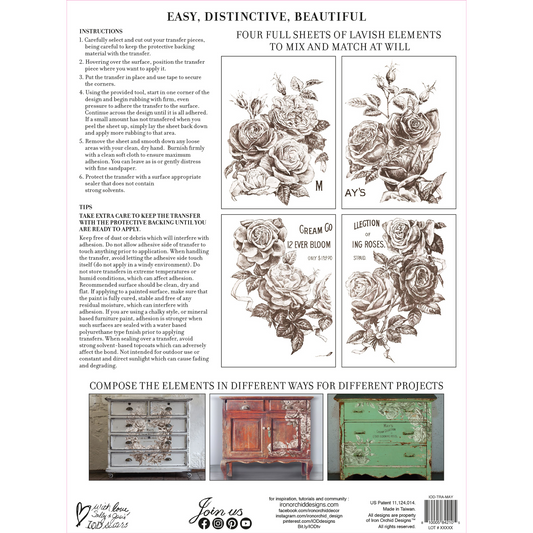
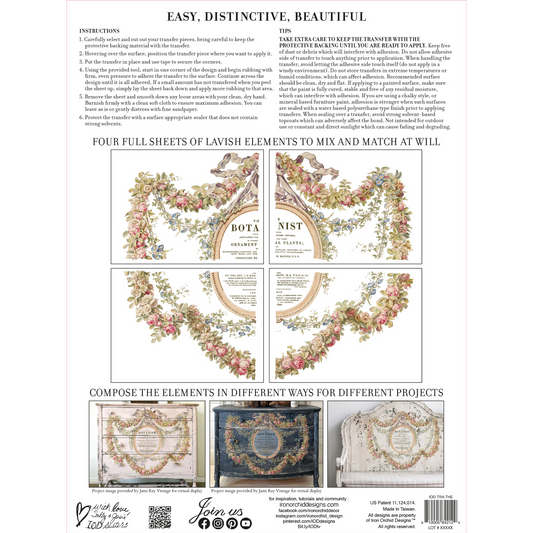
Choose the transfer pieces that you would like to use as part of your overall composition design.
Carefully cut your transfer selections. Be sure to keep the protective backing material with the transfer as this will protect the adhesive backing from any dust and debris until you are ready to use your transfer.
Hover your transfer piece over the area of your project where you want to apply your transfer; this will help you determine final placement.
Once you have decided on placement, place the transfer down on the surface; apply pressure and secure with painter's tape on the corners to keep the transfer from moving.
Using the burnishing tool provided, start in one corner and work your way across, rubbing the transfer with firm, even pressure to make the transfer design adhere to your project surface. Peel back the plastic carrier sheet as the transfer adheres to your project; if a small section has not transferred, just place the carrier sheet back in place and continue to rub until the design adheres.
Remove the carrier sheet and lightly run your hand over the surface to be sure your transferred design had fully adhered to your project surface. Use a soft, dry cloth to further burnish your transferred design to be sure that any loose spots have made full contact with your project surface.
If you like, you can use sandpaper to distress your transfer for a vintage effect.

 Sold out
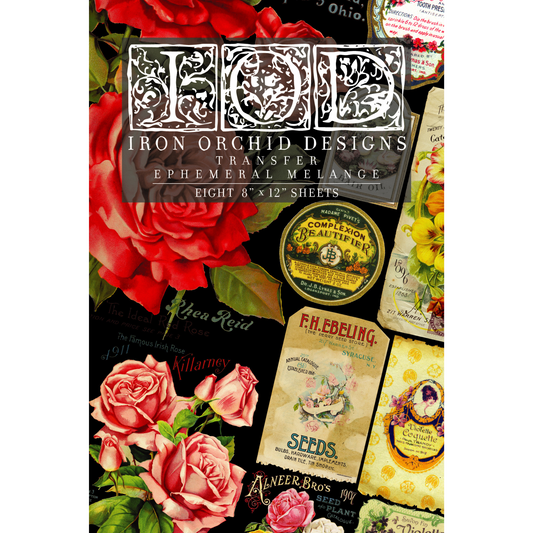
 Sold out
 Sold out